“一些基本的Unity特效的制作方式”
最近在工程中需要用到一些简单的特效,所以用之前学习的UnityShader制作了相关的特效。
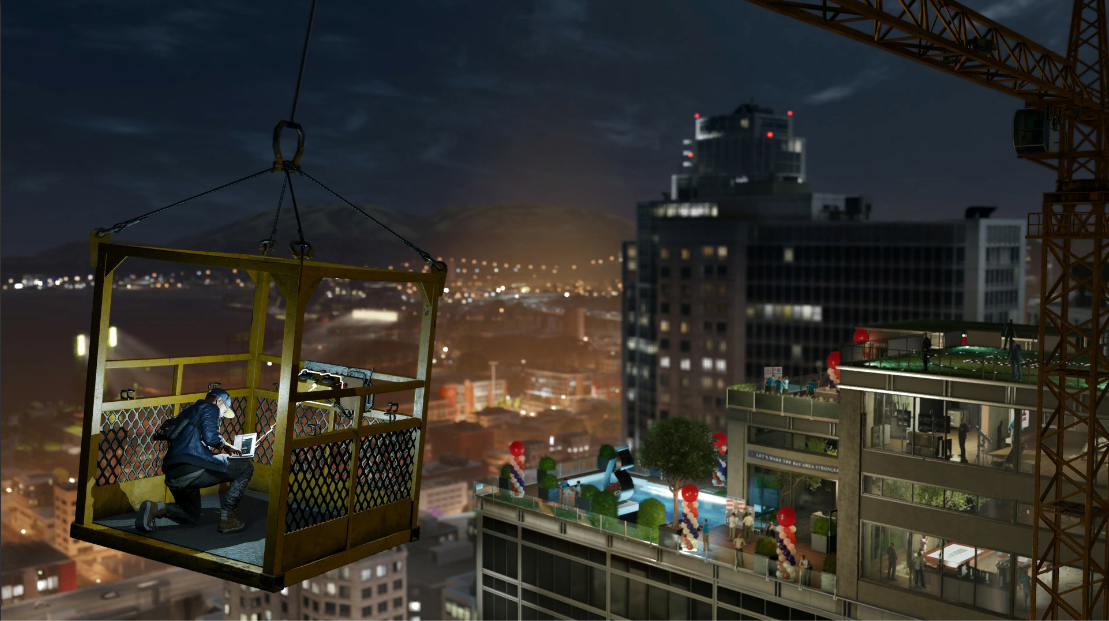
特效效果
原图
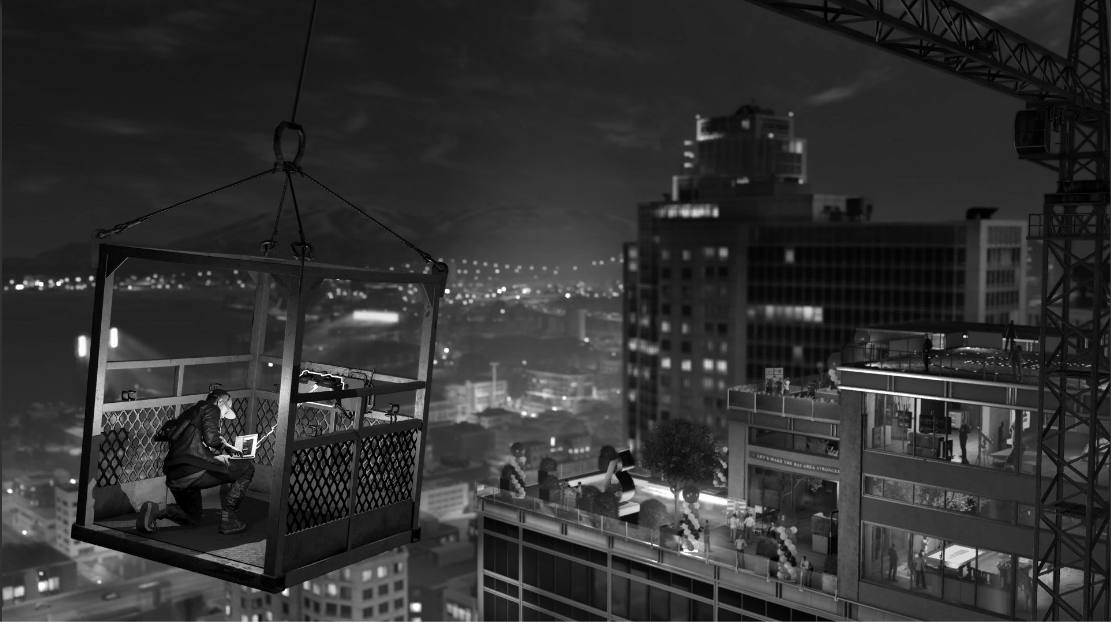
RGB转为灰度图
毛玻璃效果

基本思路
- 首先确定层级,把UI分为两部分,第一部分是会被施加特效的部分,第二部分为不会被施加特效的部分,第二部分是盖在第一部分的UI,然后在两个层级之间插入一张尺寸相同的Image用于覆盖底图,作为施加特效的图片;
- 之后需要实现的就是获取在特效前的纹理,进行对应的特效处理,最后输出为shader,附加到材质球上;
- 在特效图片上附上制作的材质球,通过Enable/Disable该图片实现特效的输出与关闭。
纹理获取
参照UnityManual中的GrabPass的Example, 使用GrabPass获取底层纹理:
-
设置渲染队列为Trasparent,透明图层渲染;
-
获取采样的纹理;
GrabPass
{
	"_BackgroundTexture"
}

sampler2D _BackgroundTexture;
- 重载片元着色片段fragment frag,一般在这个阶段进行特效处理,因此之后我们处理灰度与模糊的特效只需要修改这个函数;
Shader "GrabPassInvert"
{
    SubShader
    {
        // Draw ourselves after all opaque geometry
        Tags { "Queue" = "Transparent" }

        // Grab the screen behind the object into _BackgroundTexture
        GrabPass
        {
            "_BackgroundTexture"
        }

        // Render the object with the texture generated above, and invert the colors
        Pass
        {
            CGPROGRAM
            #pragma vertex vert
            #pragma fragment frag
            #include "UnityCG.cginc"

            struct v2f
            {
                float4 grabPos : TEXCOORD0;
                float4 pos : SV_POSITION;
            };

            v2f vert(appdata_base v) {
                v2f o;
                // use UnityObjectToClipPos from UnityCG.cginc to calculate
                // the clip-space of the vertex
                o.pos = UnityObjectToClipPos(v.vertex);
                // use ComputeGrabScreenPos function from UnityCG.cginc
                // to get the correct texture coordinate
                o.grabPos = ComputeGrabScreenPos(o.pos);
                return o;
            }

            sampler2D _BackgroundTexture;

            half4 frag(v2f i) : SV_Target
            {
                half4 bgcolor = tex2Dproj(_BackgroundTexture, i.grabPos);
                return 1 - bgcolor;
            }
            ENDCG
        }
    }
}
黑白特效
RGB色彩转为灰度,需要用到心理学公式:
\[Gray = R*0.299 + G*0.587 + B*0.114\]因此,只需要将片元着色部分修改
	half4 frag(v2f i) : SV_Target
	{
		half4 bgcolor = tex2Dproj(_BackgroundTexture, i.grabPos);
		float gray = dot(bgcolor.rgb, float3(0.299, 0.587, 0.114));
		bgcolor = (gray, gray, gray);
		return bgcolor;
	}
模糊特效
模糊的思路主要是使用了贴图扰动的思路,
	sampler2D _BackgroundTexture;
	uniform half4 _BackgroundTexture_TexelSize;
	half4 frag(v2f i) : SV_Target
	{
		half4 bgcolor = tex2Dproj(_BackgroundTexture, i.grabPos);

		half4 noise1 = tex2Dproj(_BackgroundTexture, i.grabPos*4);
		half4 norbase1 = tex2D(_BackgroundTexture, i.grabPos + (4 * _BackgroundTexture_TexelSize * noise1.xy));
		half4 norbase2 = tex2D(_BackgroundTexture, i.grabPos - (4 * _BackgroundTexture_TexelSize * noise1.yz));
		half4 norbase3 = tex2D(_BackgroundTexture, i.grabPos + (4 * _BackgroundTexture_TexelSize * noise1.zx));

		bgcolor = (norbase1 + norbase2 + norbase3) / 3;

		return bgcolor;
	}